VSCO X KA3 Review (Kodak Ektachrome E100VS)
Post Summary: Review of the VSCO X KA3 Film Preset with before and after photos taken in Patagonia Chile.
VSCO X KA3 Film Preset
KA3 – Kodak Ektachrome E100VS was just released (October 2019) for VSCO X Members in the mobile app. If you’re interested in diving into the rabbit hole of tech, digital products, and photo editing than you’re in the right spot. Keep reading for a full review of this preset.
If you're not interested in VSCO Film Presets, then check out this post about Moose Creek. It's full of real film photos that I shot from the back seat of a Cessna while flying over the Idaho wilderness last summer.

Kodak Ektachrome E100VS – V for “Vibrant”, S for “Saturated” is arguably the most colorful positive film ever made. With its dynamic contrast, warm tones, strong reds, and deep blues, KA3 is ideal for still life, nature, and food photography. Negative character increases saturation and contrast while fading the look, and positive character softens the image considerably. (VSCO)
I use VSCO for the majority of my mobile editing. This includes photos from my phone and the jpgs I transfer from my Fujifilm X-T30. All my photos from Antigua and Lake Atitlan this summer were edited with VSCO. Without a laptop, this was an ideal solution.
I have several VSCO recipes and some favorite presets that I use most of the time. However, I’m always excited about a new preset release. After some initial testing, I’m impressed with the new KA3 Kodak Ektachrome E100VS, and I believe it will find a way into my workflow.
VSCO – Before and After
Let’s dive right in to some before and after photos.
Punchy Vibrant Colors
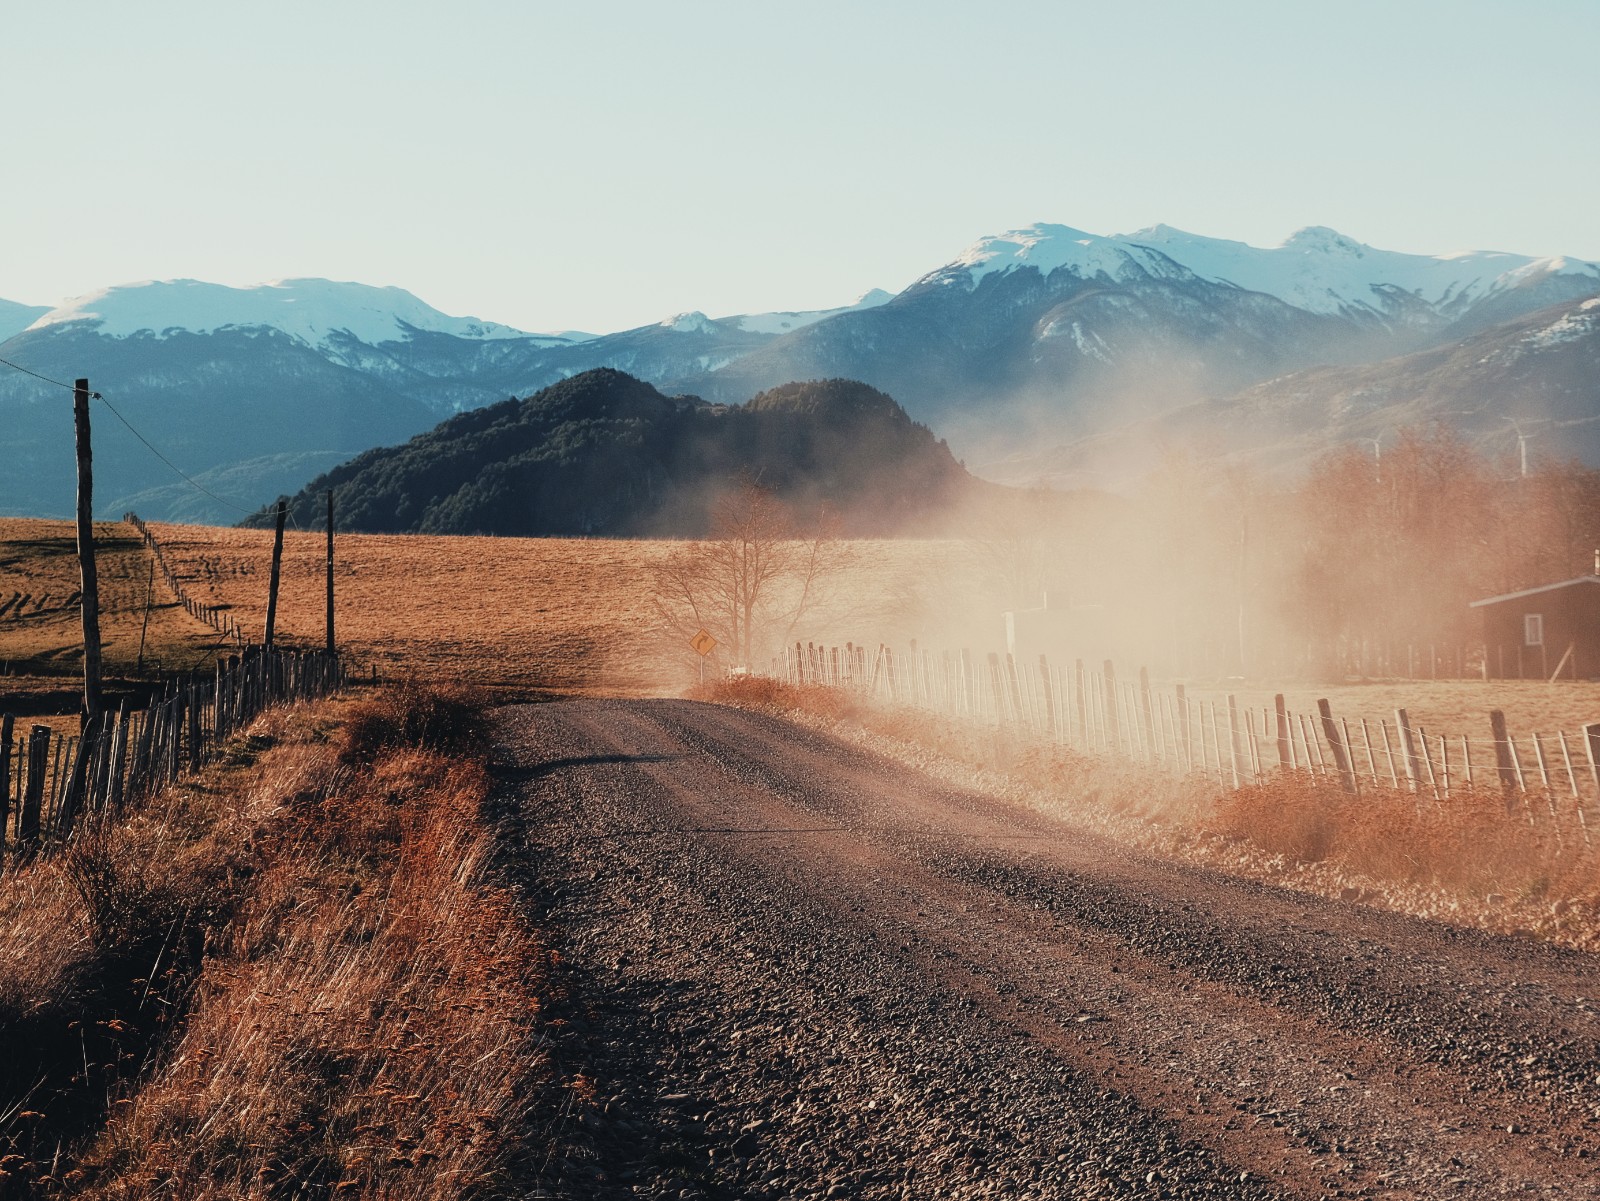
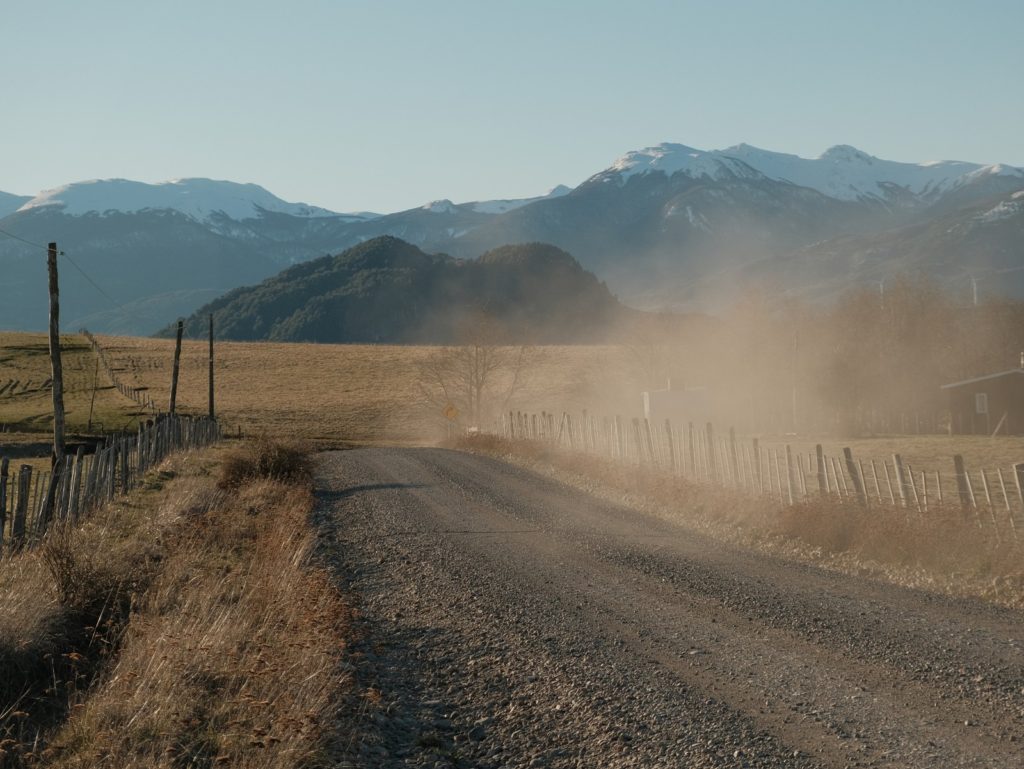
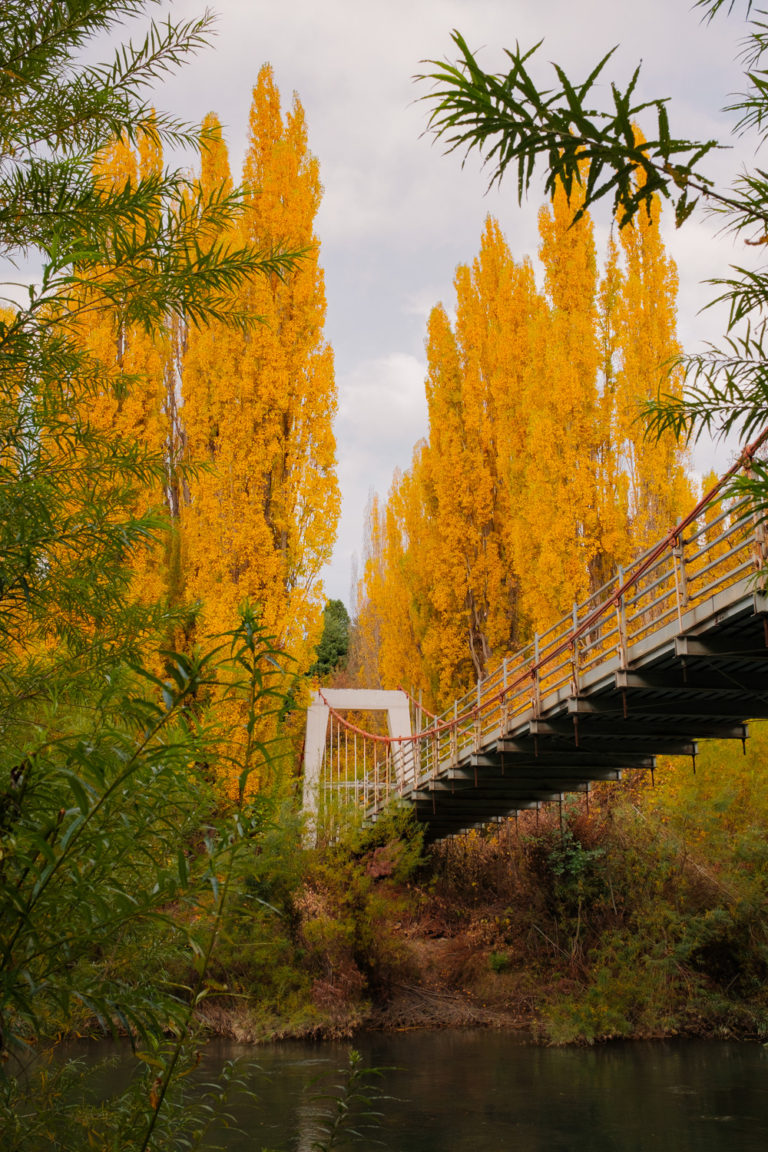
The first thing I noticed about KA3 was the punchy contrast and vibrant colors. As you’ll see in a few of the photos below, this preset really favors warm tones (reds, oranges, and yellows). Without adjusting the HSL (highlights, saturation, lightness) sliders I noticed that the yellows become a little more orange, and the oranges become a little more red.
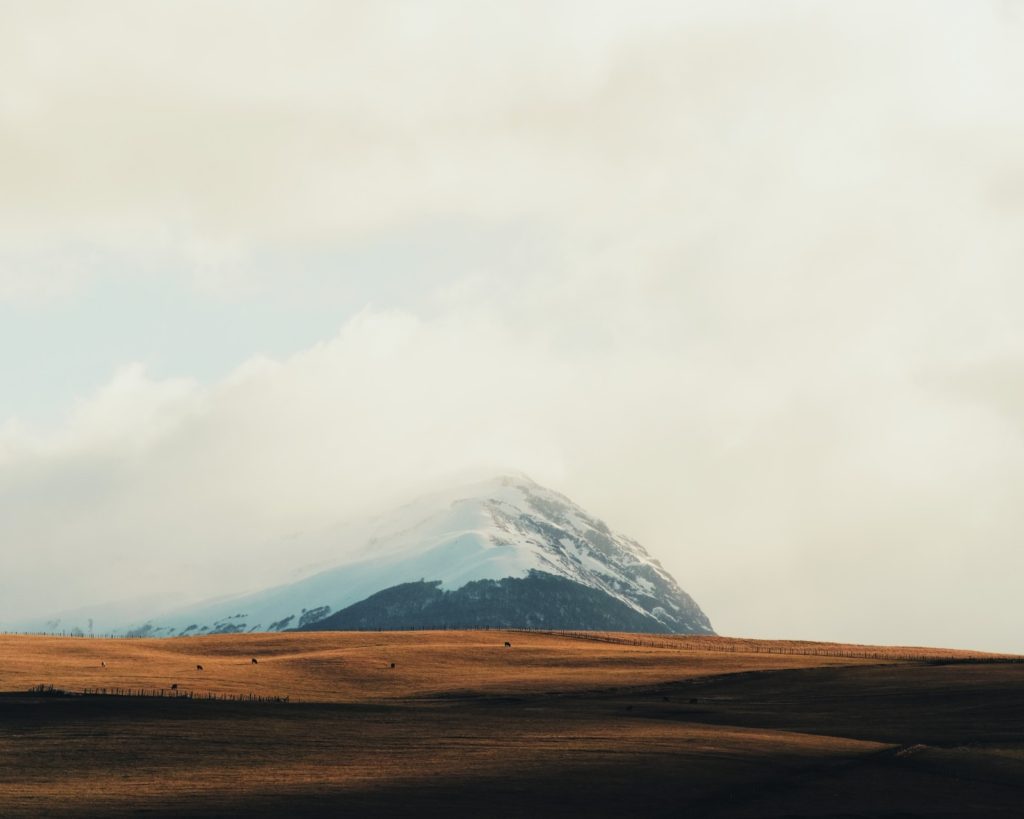
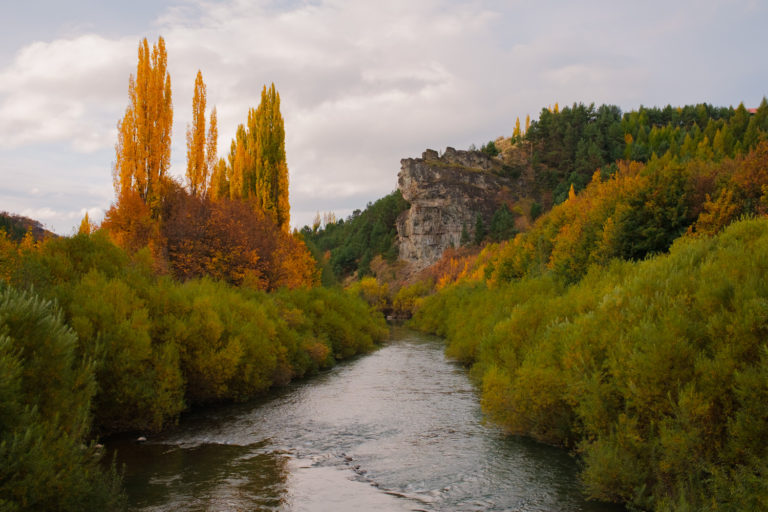
Yellow And Orange Shift
In the example above, the yellow hue of the field shifted farther to the orange and red hues. This also happened in the first set of photos. The golden light of the evening went from yellow to orange. In the right photos, I think this can look really beautiful.
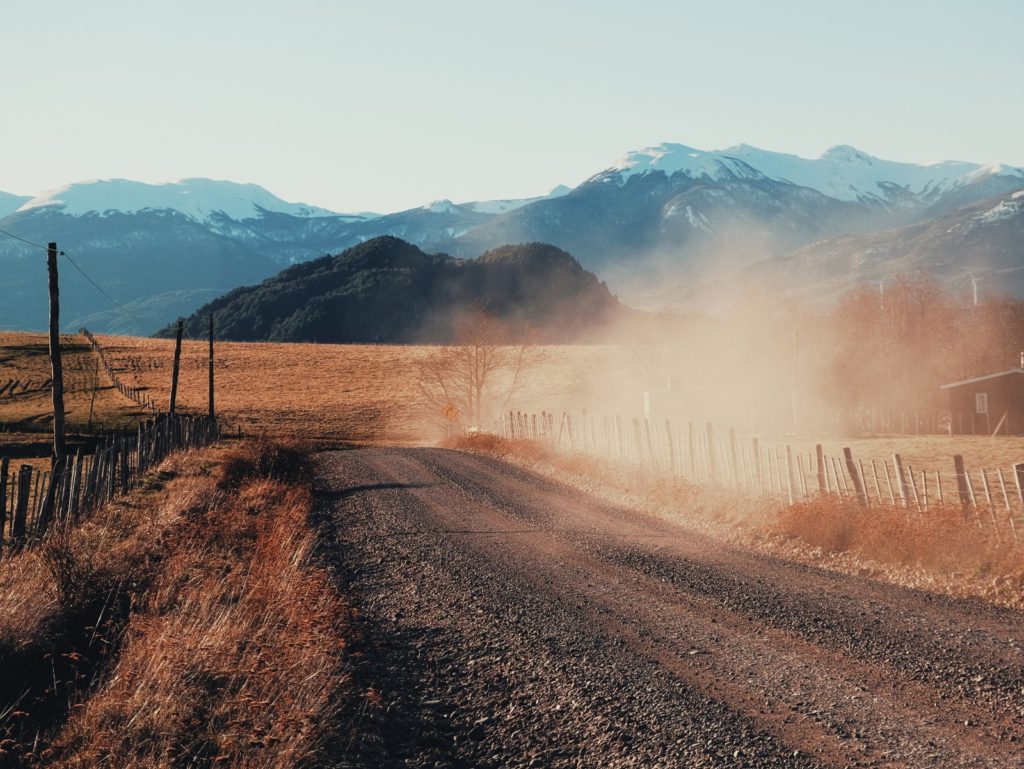
Warm Tones
The highlights and shadows stay pretty accurate to their original tones when the character slider remains at neutral. This is important for creating an edit that won’t look dated in a few years. This preset also does a great job in emphasizing the warm tones of golden hour. Be careful when you use it on skin tones though, as it can quickly become over saturated.
Editing Tip - Keep several reference photos in your VSCO app to compare as your editing. A reference photo should be the target look you are trying to achieve. Without a reference point it's easy to go overboard with your edits!
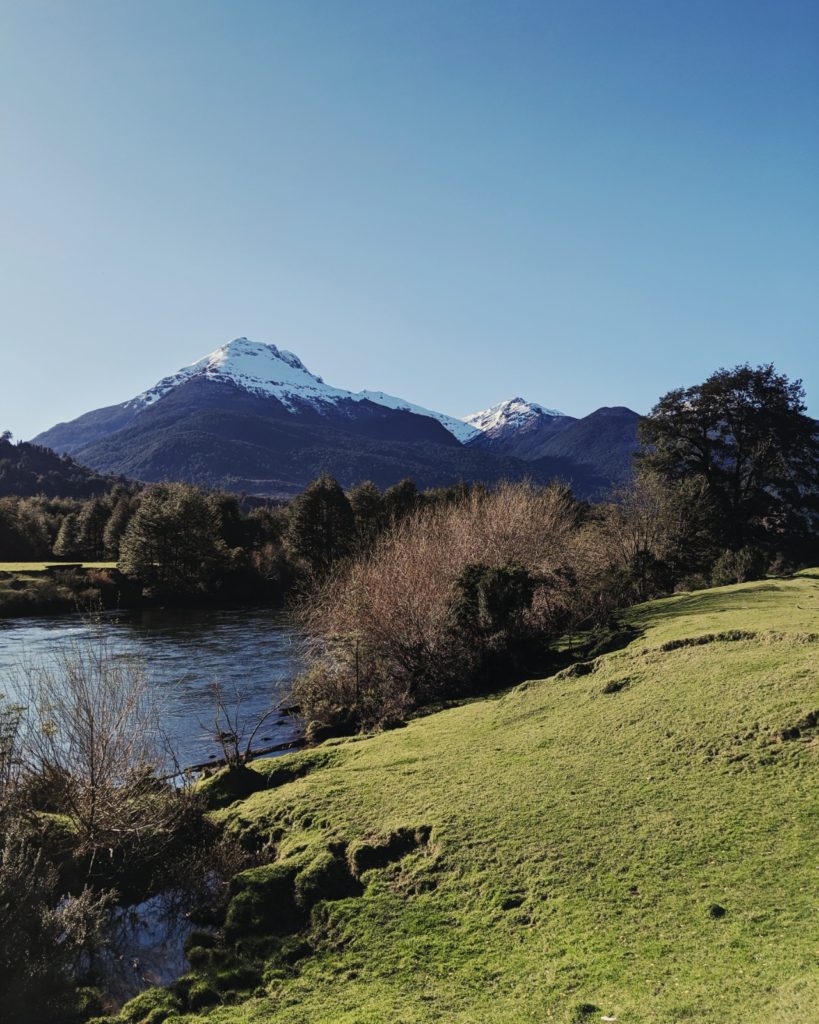
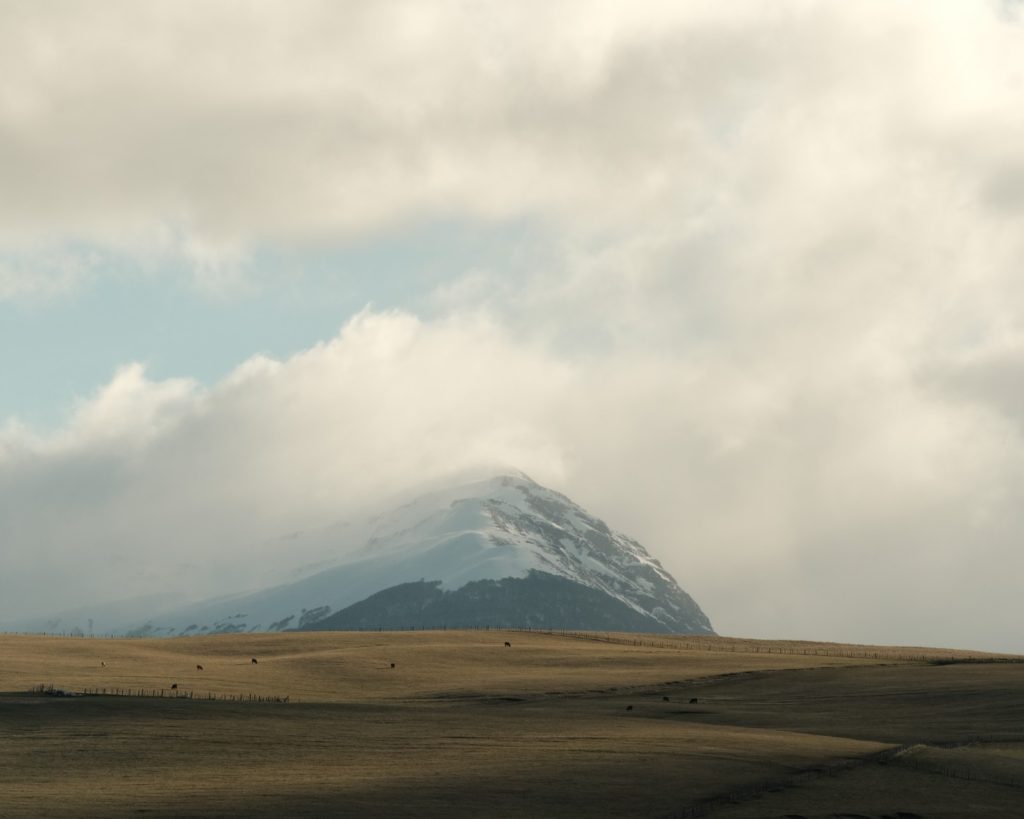
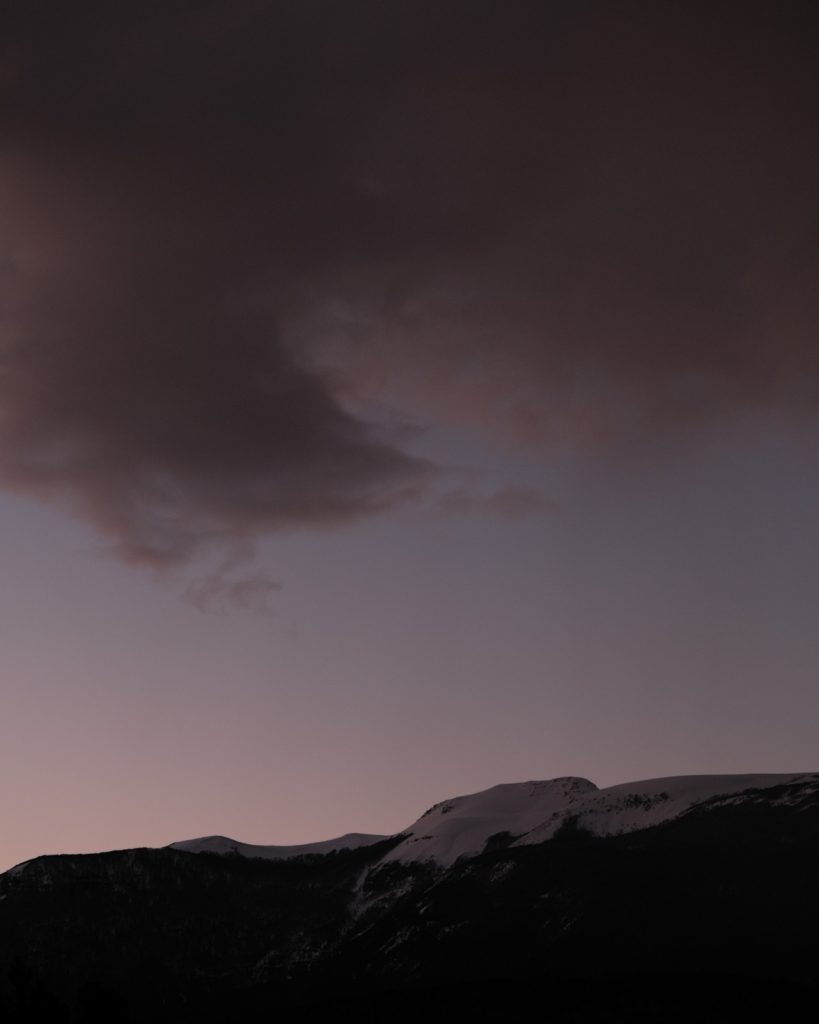
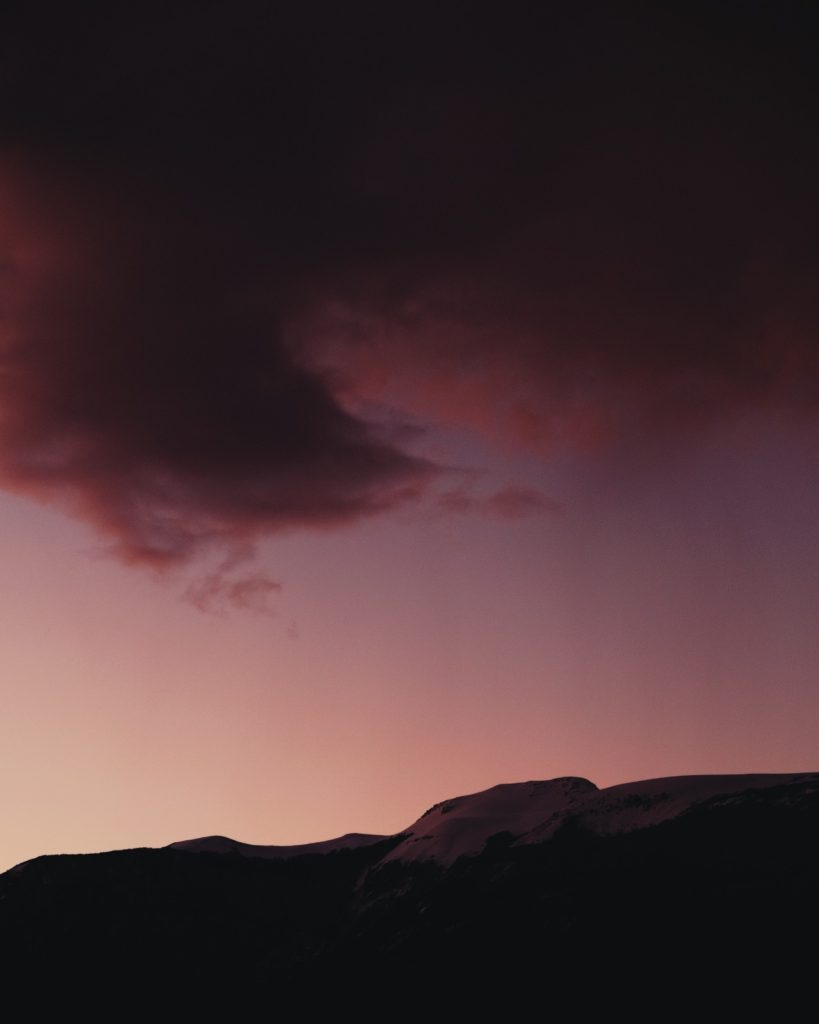
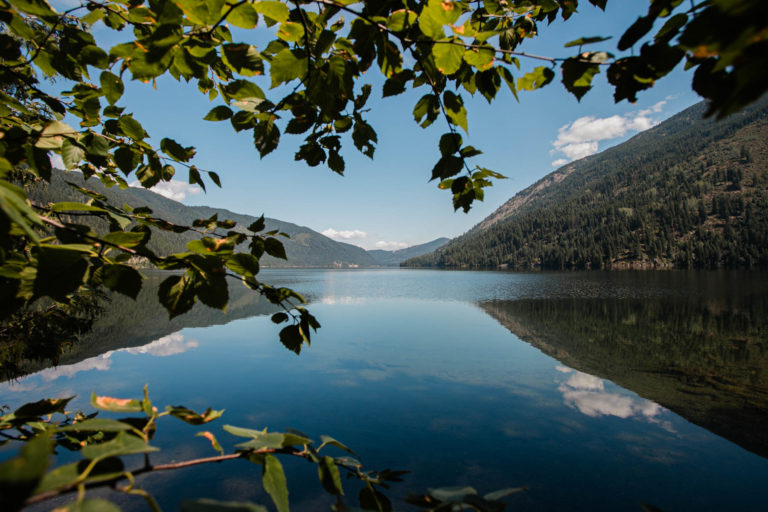
Muted Greens and Blues
I like the muted blues, and softer greens, but I don’t really like the pink and purple hues in the mountains.
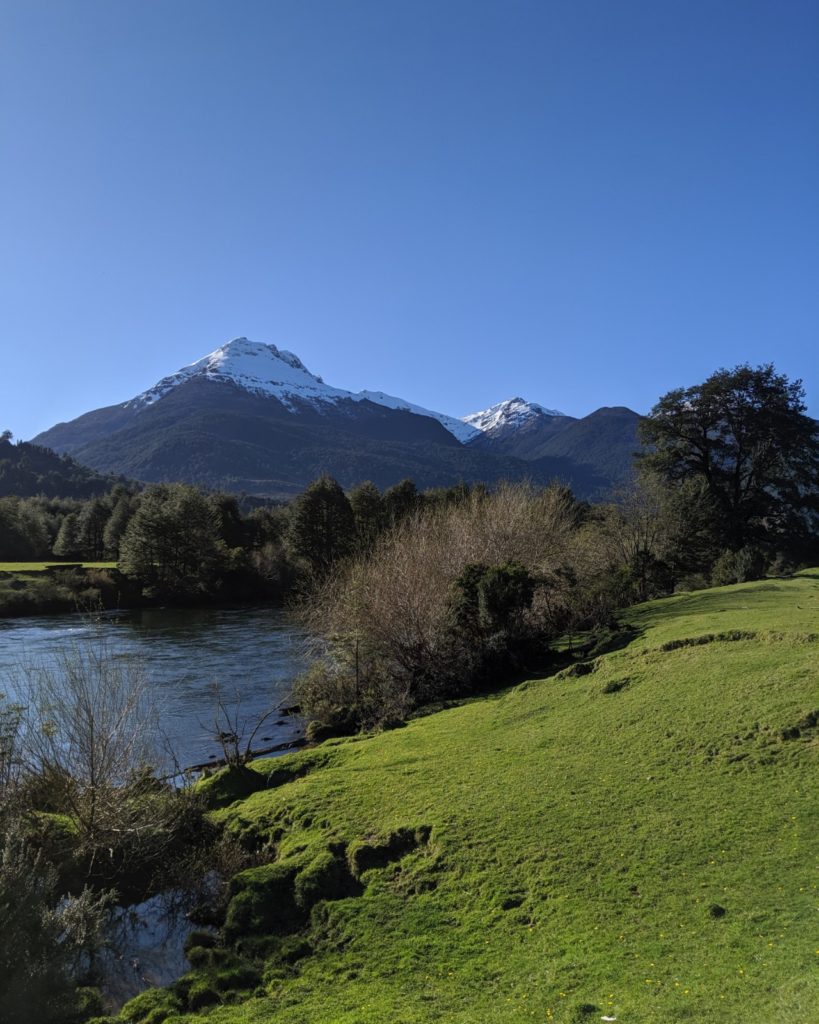
Google Pixel Photos - All photos shot on Google Pixel phones (2, 3, and 4) tend to have lots of micro-contrast and look a little more of an HDR look straight out of the camera. Because of this, you need to decrease the strength of the VSCO preset and carefully hone in the exposure and contrast. The shots above are edited at a strength of 8.
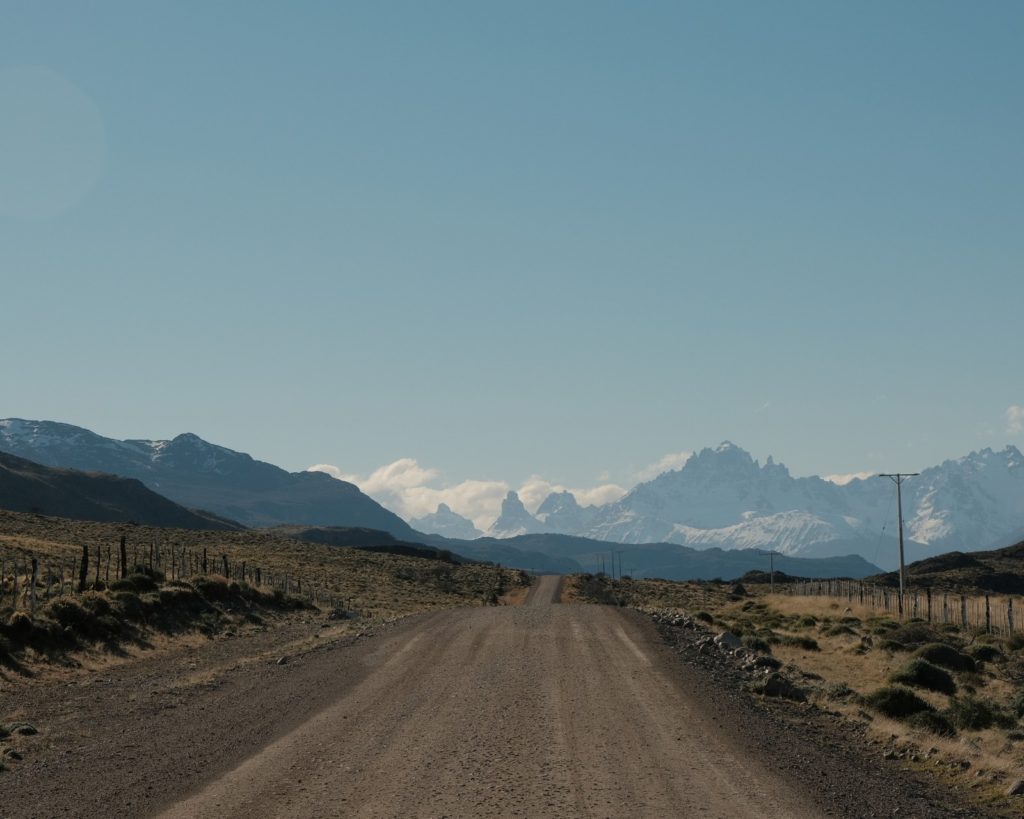
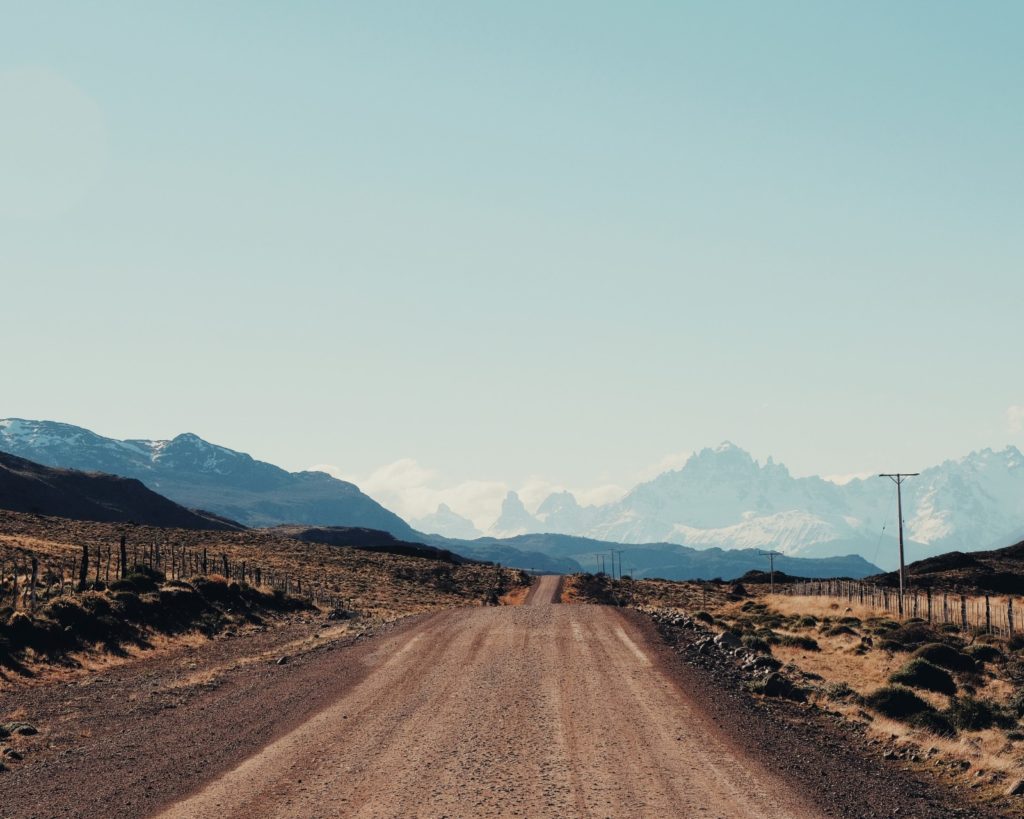
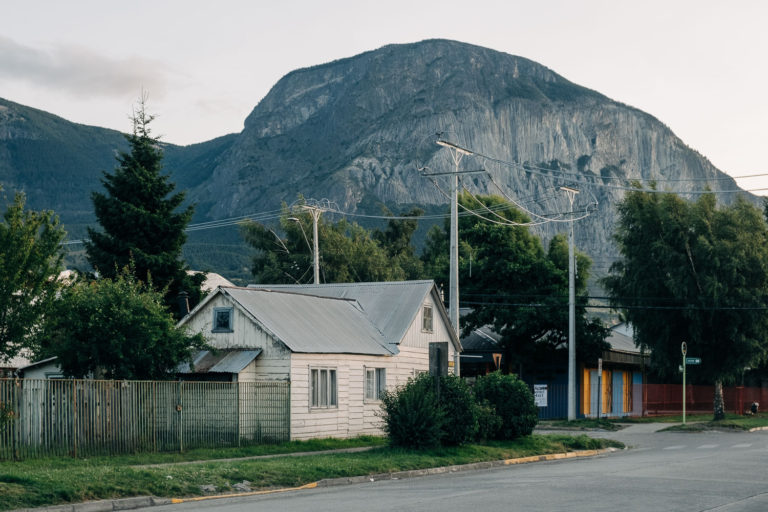
Lots of Contrast
This shot of the Cerro Castillo Mountain Range is a tough photo due to high contrast and mid-day light. The KA3 preset had a harder time with this photo than the others. I may need to go back and decrease the strength, and independently adjust the white balance and tint to get the pinkish, purple hue out of the road.
Tips For Editing With VSCO X Film Presets
Each of the Film X Presets have three adjustment sliders: Strength, Character and Warmth. The exception are the black and white presets which do not include the warmth adjustment.
The visual effect of the character slider is unique to each preset. However the strength and warmth adjustments react very similarly in all the presets. To create a clean look with accurate colors follow the advice below. Remember all editing starts with proper exposure and white balance.
- [All Film X Presets] – Keep the strength between 8 and 12 for most photos. If your camera provides a flatter profile jpg use a higher strength on your preset. If your photos already have lots of contrast and color (aka Google Pixel 3), a lower strength is best.
- [KA3 preset] – I don’t like the color shift that happens when you push the character to the left. I prefer the look when I keep the character adjustment between 0 and 2.
- [All Film X Presets] – The warmth slider works best with small adjustments, usually no more than 2.5 in either direction. If it requires more than this, than you should be fixing it with the white balance tool.
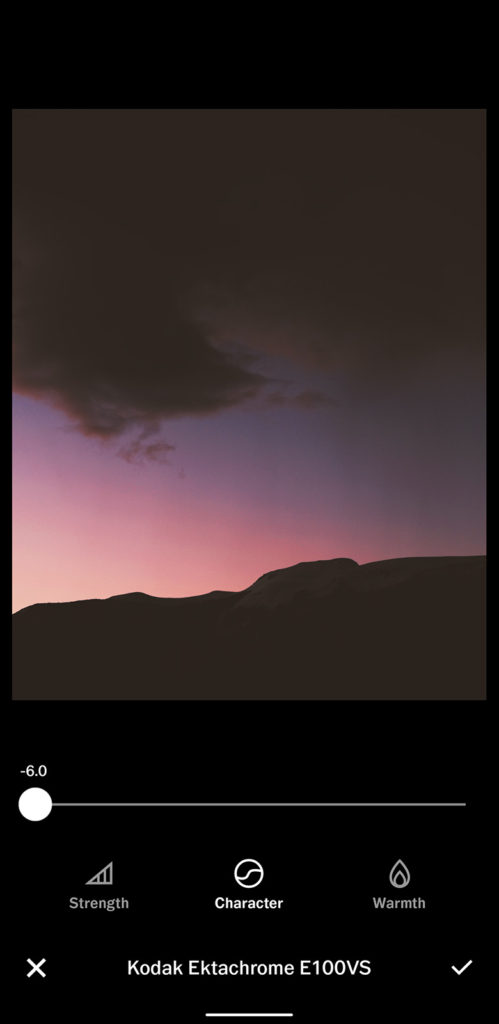
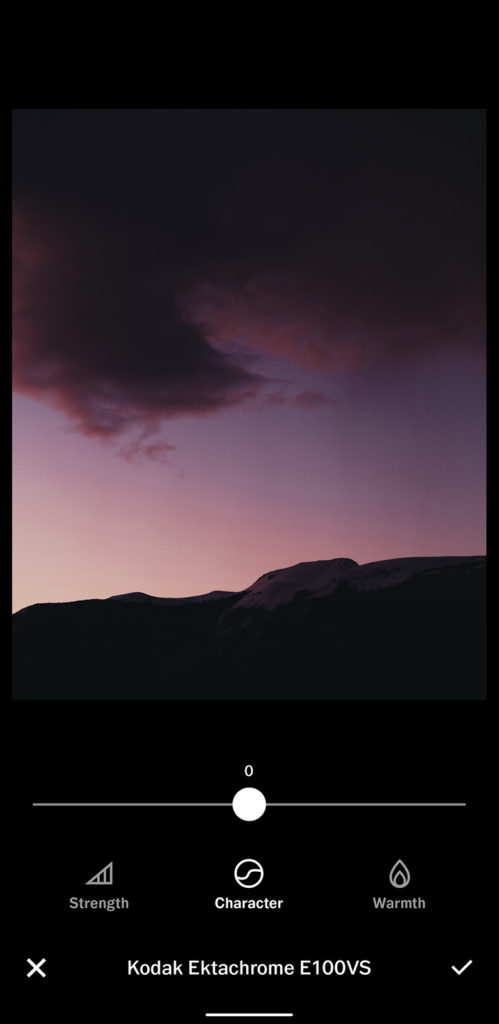
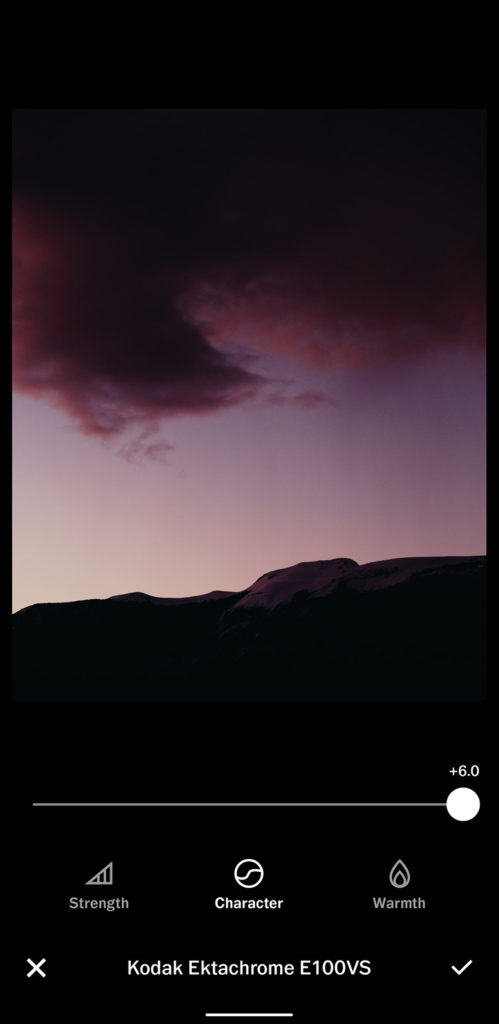
Character Slider
Above you can see what happens when you push the character all the way to the left (-6.0). The blacks and whites get crushed slightly, and the colors become more saturated. It also looks like the shadows take on a warm tone. Character all the way to the right produces a subtle effect of increased contrast and a slight color shift and desaturation.
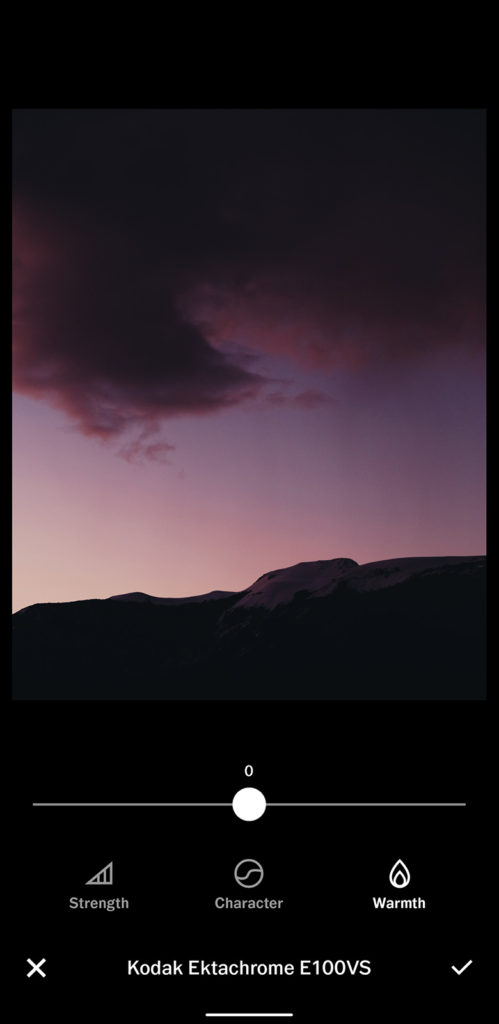
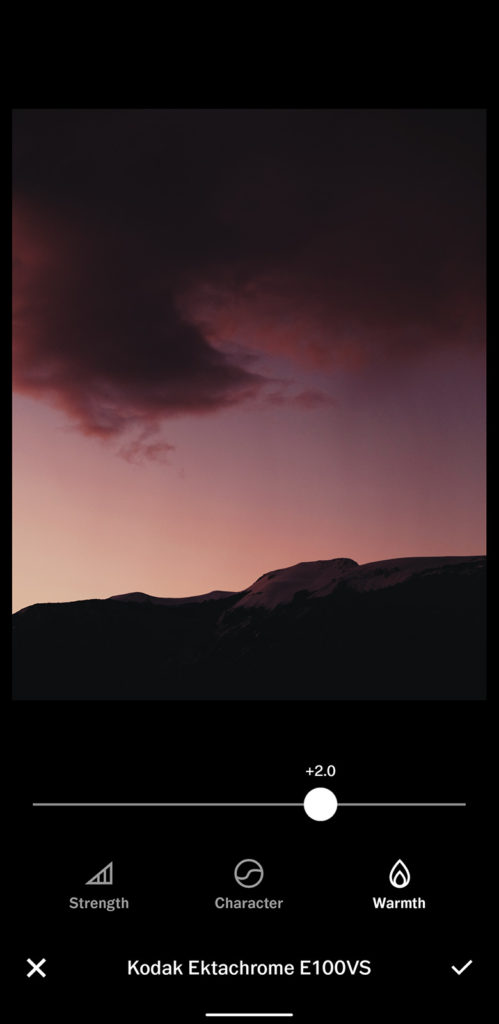
Warmth Slider
You can see the big change that just +2.0 makes on the warmth slider. I try to keep this range at nor more than plus or minus 2.5. For all the other examples in this post, I kept the warmth between 0 and 0.5.
Free VSCO Filters
Start editing on VSCO without paying the $19.99/annual membership fee by downloading the app and using the 10 free included presets!
Some of my favorites: M5, C1, and G3 are all included for free and will give you a great start in figuring out how to use VSCO to increase your photo editing skills. Go to https://vsco.co/vsco/journal/your-free-vsco-presets this link to learn more.
Share Photos. Get Featured!
Tag me (@justinmullet) on Instagram with photos that you’ve edited with VSCO. If you used KA3 let me know and I’ll feature you in my stories.
What else would you like to see here about photo editing?
Leave a comment and share this post using the photos below.


2 Comments